Adaptability is one of the traits that sets RITM apart, allowing you to make the platform your own through customisation, configuration and branding capabilities.
Applications
This section handles applications that have been integrated with OneWelcome IAM. In addition to customising how the applications are displayed to the user, you can also define roles right within those applications and organise them in categories.
Please keep in mind that in order for an application to work, you will need to configure the connection in the OneWelcome Config app as well.
Accessing applications
A user is only able to access the Applications configuration menu item within the platform if that user has at least one Admin role that grants him that permission. Users that have this permission are allowed to configure new applications and manage all the existing ones.
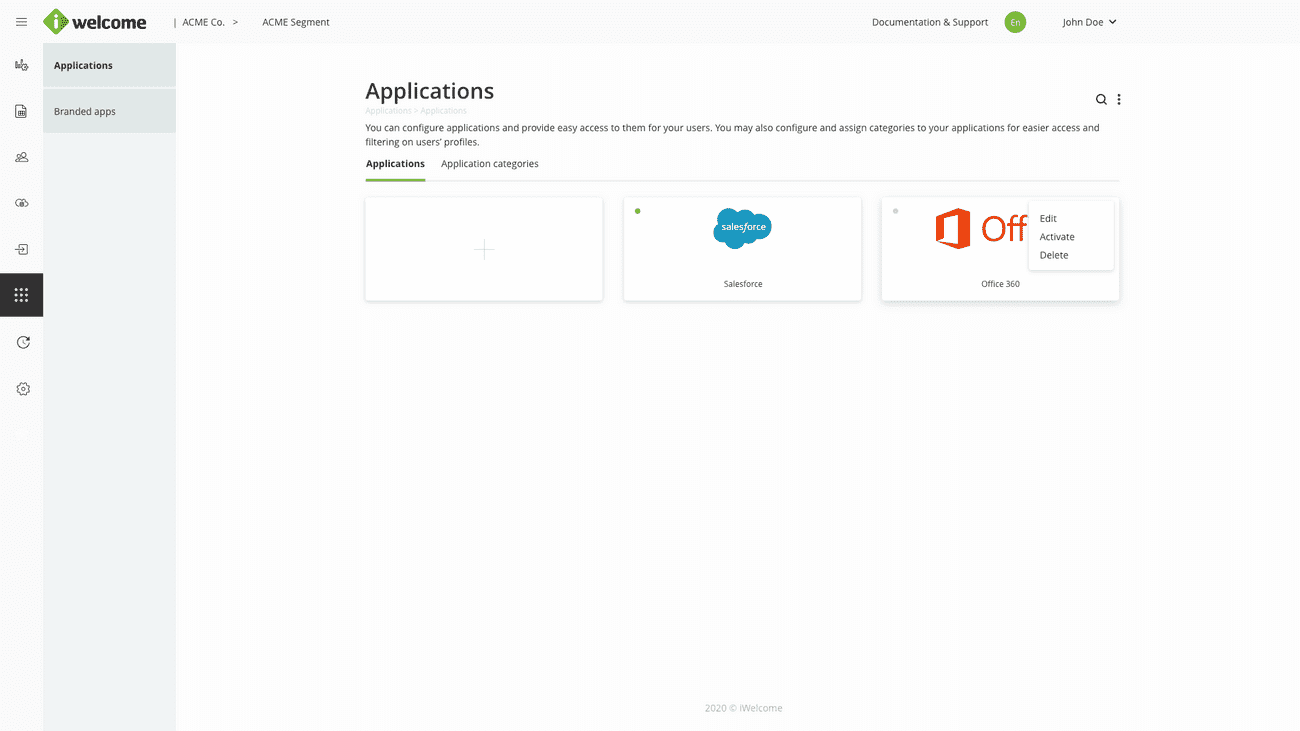
Applications list
You can add, customise, activate and delete pre-integrated applications.
Adding a new application
As an example, we'll add Salesforce to our list of applications by clicking the + button.
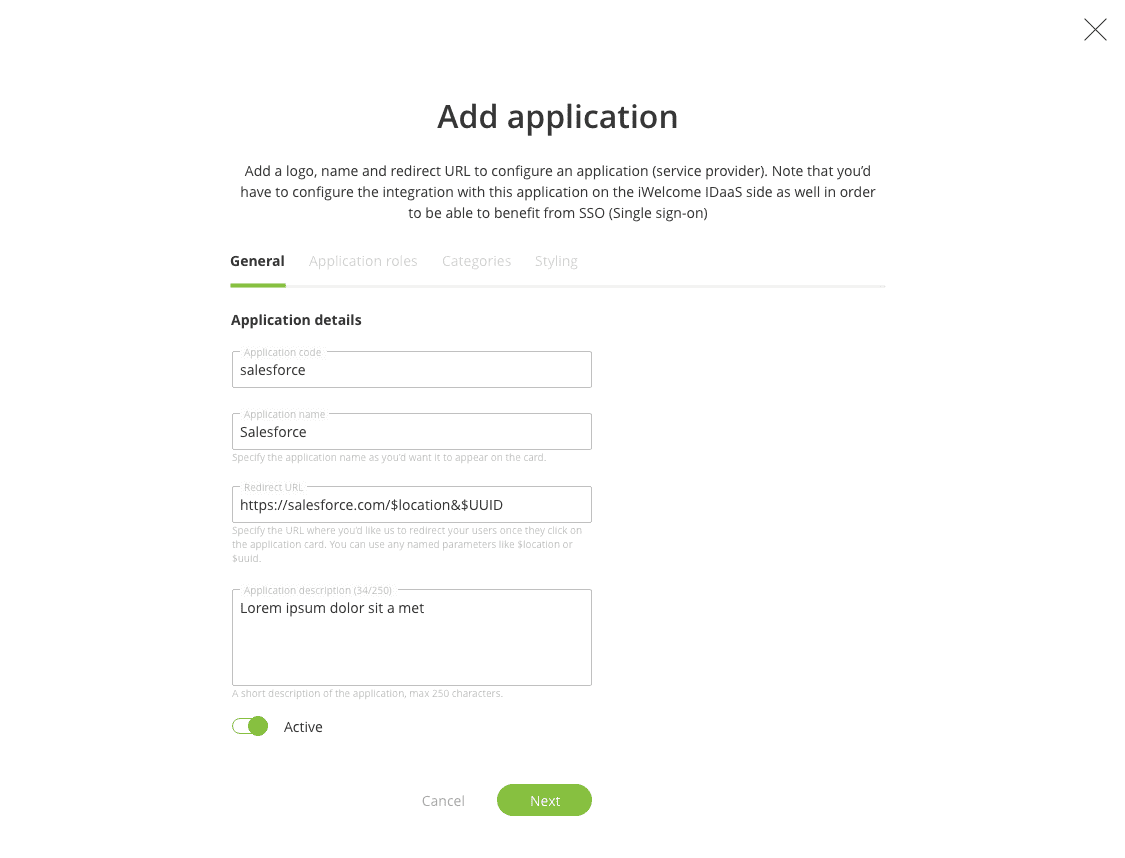
Within the General tab, we'll fill in information about the application's identity:
- Application code. Assign a code to the application to help you find it easier.
- Application name. Give the application a name that makes identifying it easier.
- Redirect URL. Specify a URL where you'd like us to redirect your users once they click on the application card. You can use any named parameters such as $location or $uuid.
- Application description. Briefly describe the application.
- Active. Decide if you want the application to be active or not.
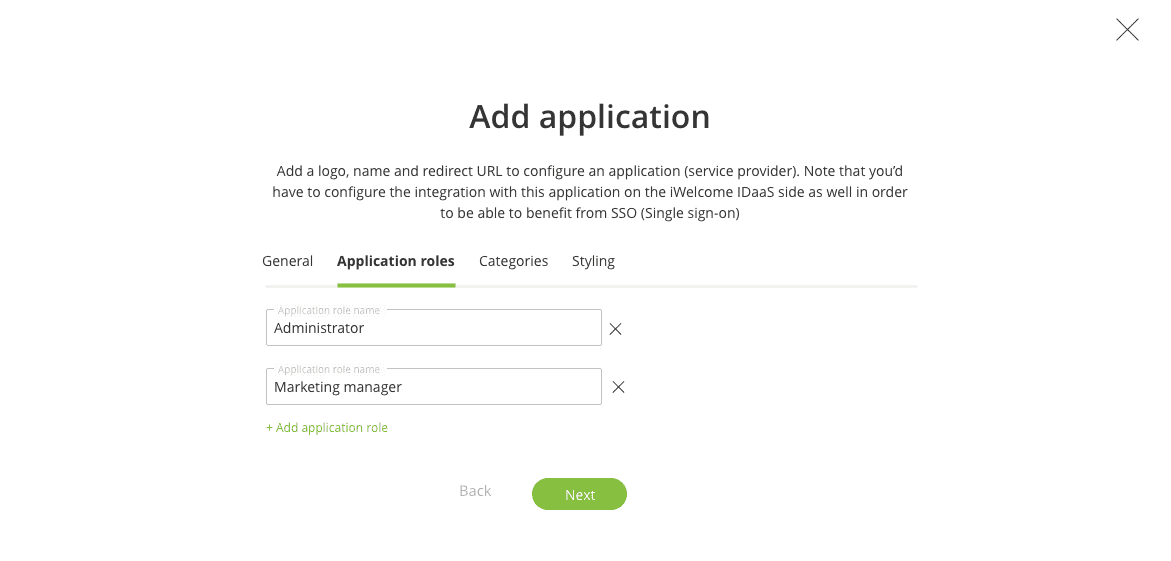
The Application roles tab within the application configuration wizard handles the definition of application-specific roles. The roles you define here are passed to the application when the user authenticates using single sign-on.
In our example, we will add 2 application roles:
- Administrator
- Marketing manager
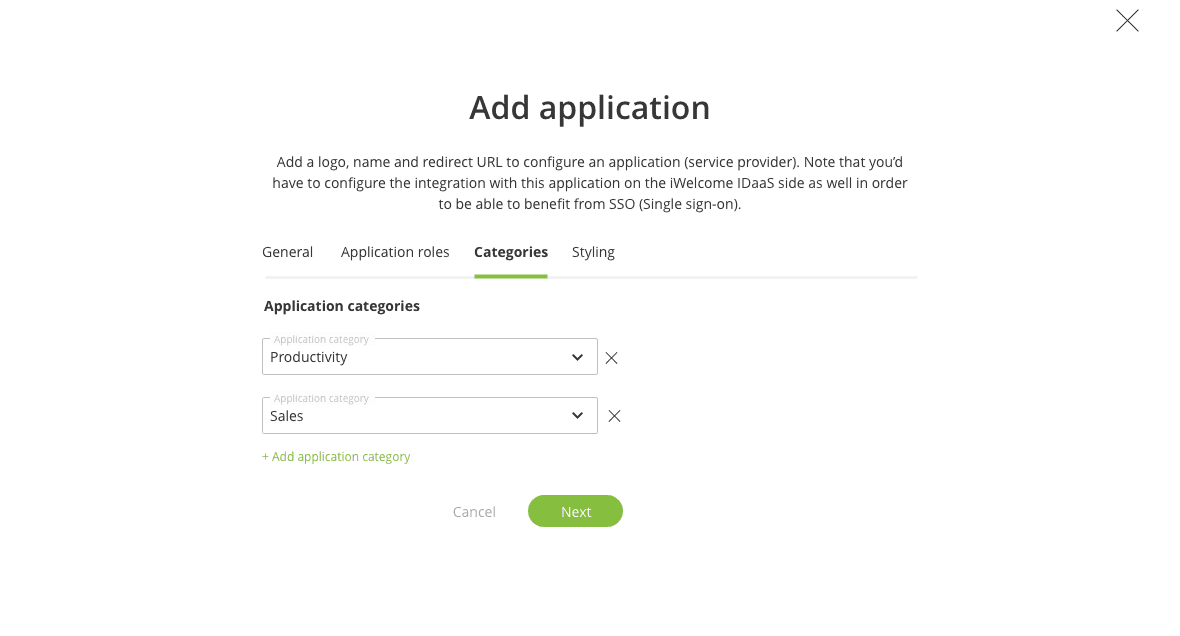
The third tab, Categories, allows you to assign the application to one or more categories for easier navigation for the user within the list of applications that he has access to, within the profile page.
In our example, we will add the new application to 2 categories:
- Productivity
- Sales
The way applications are presented to users on the self-service page can be customised on the Styling tab where you can customise the:
- Application logo. Upload an application logo that will appear on the application's card.
- Application small logo. Add an application logo that will appear in the header of the card if you have chosen to display cards with the application's description.
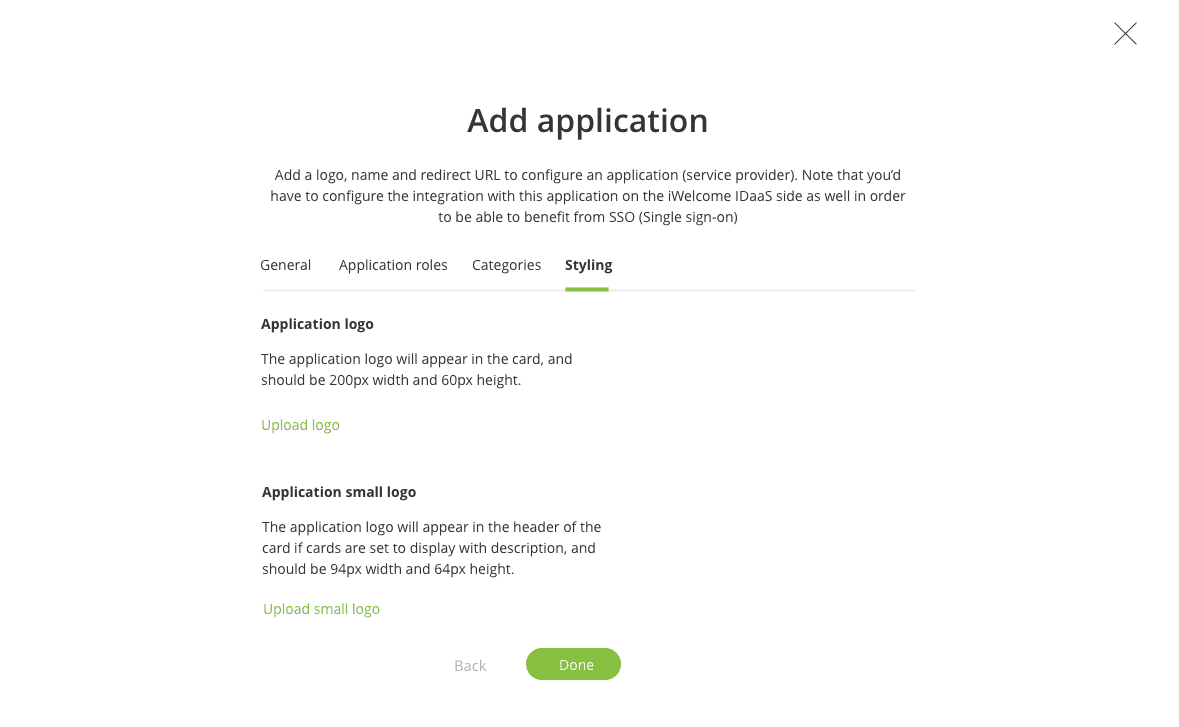
Clicking on "Done" completes the new application configuration and makes available a new application to the users.
Application categories
Application categories provide a means to sort applications on the Applications menu under Profile.
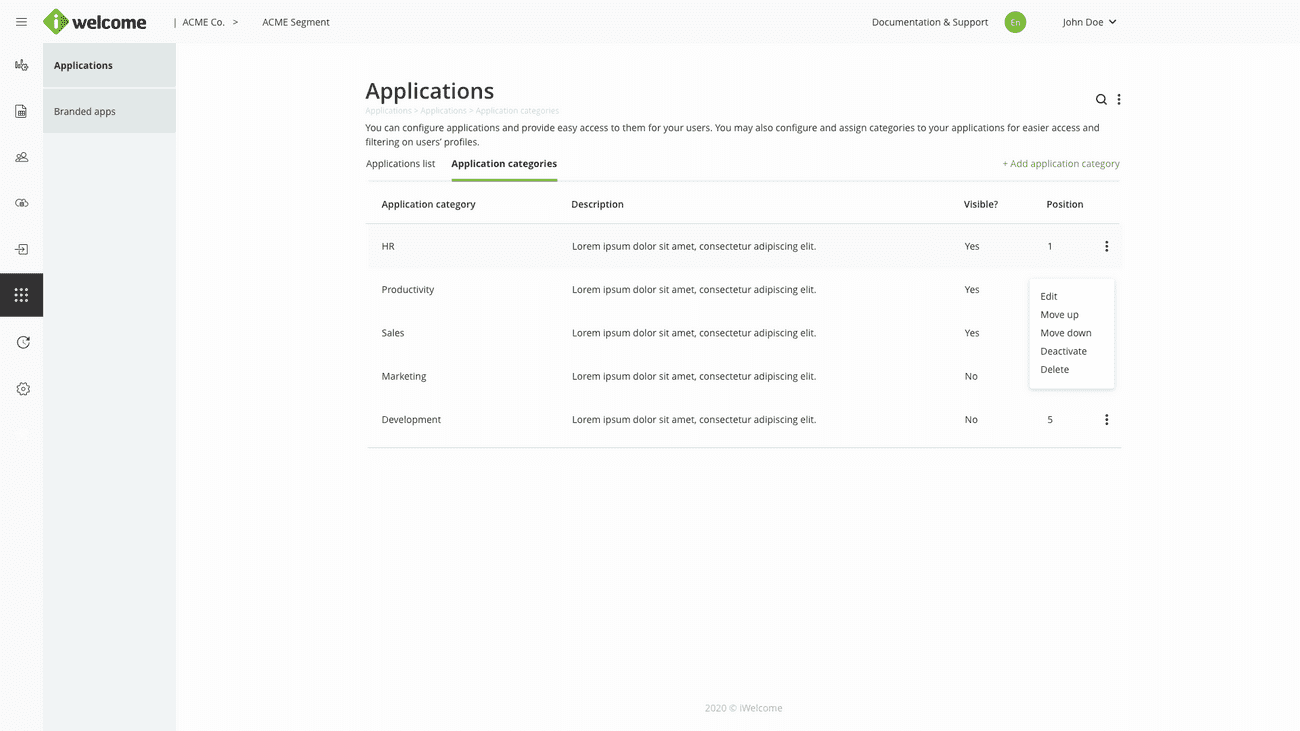
You can created new application categories, edit, disable or delete existing ones, as well as change their position within the profile page.
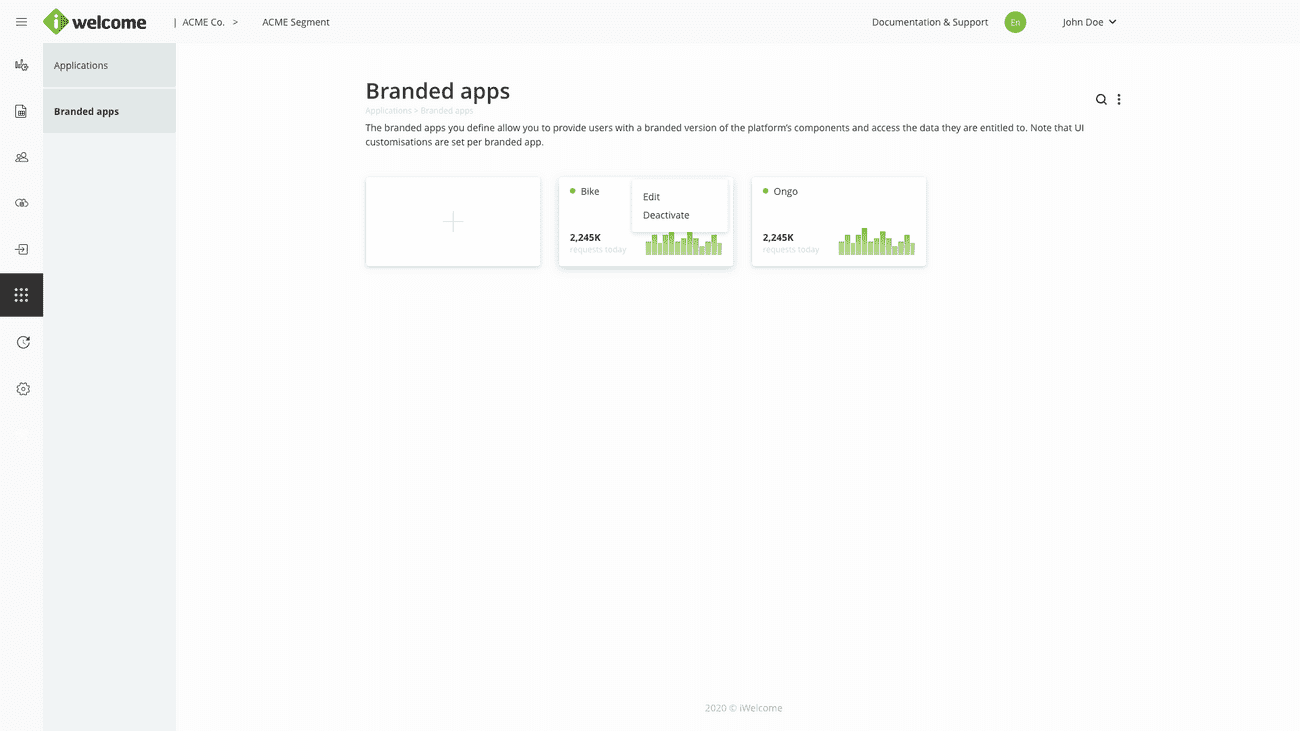
Branded apps
Branded apps represent the applications that organisations own and control and of which identities are managed through OneWelcome IAM. For each such application, the system generates a unique application URL (with several sub-domains to cater for different services and ways to access, such as self service, portal and API) that can be customised by adding a CNAME at the DNS level.
Branded apps configuration
One of the platform's main features is the ability to create a branded version of the platform for each branded app that you define, where users can manage both configuration data, as well as their accounts and personal information.
Adding a new branded app
To set up a branded app, you first have to provide an application code and name on the General tab:
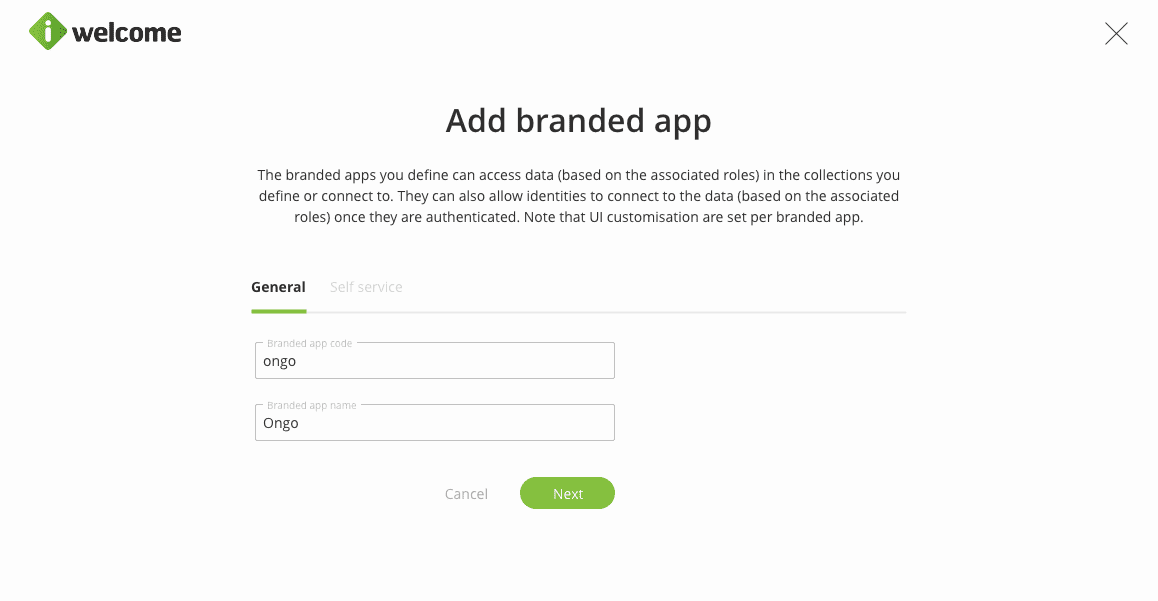
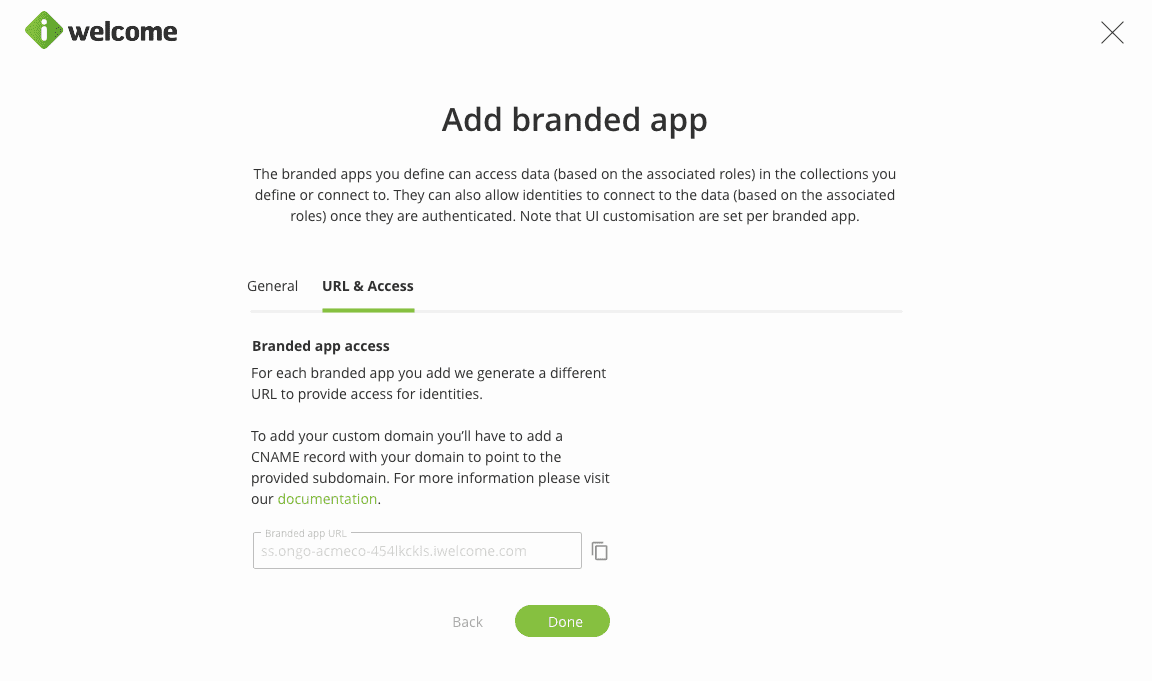
Furthermore, the URL & Access tab allows you to copy the URL that is automatically generated for each branded app:
Branded apps customisation
You can perform branding customisations (such as logo, favicon & colours) and left menu structure customisations (add additional menu items).
All branded apps can be customised within the Customise menu option on the Branded apps listing page, for a fully-branded customer experience.
Customising a branded app
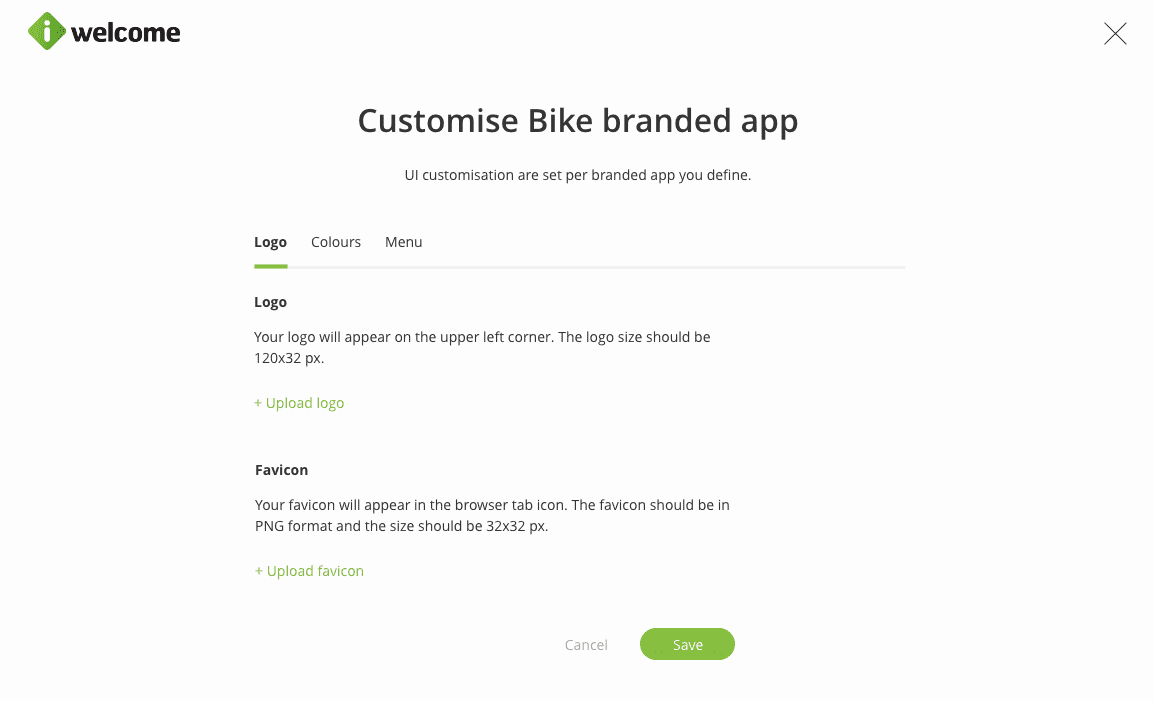
You can add your own logo and favicon to the platform within the Logo tab on the customisation menu. The logo will appear on the top left corner and the favicon in the browser tab icon.
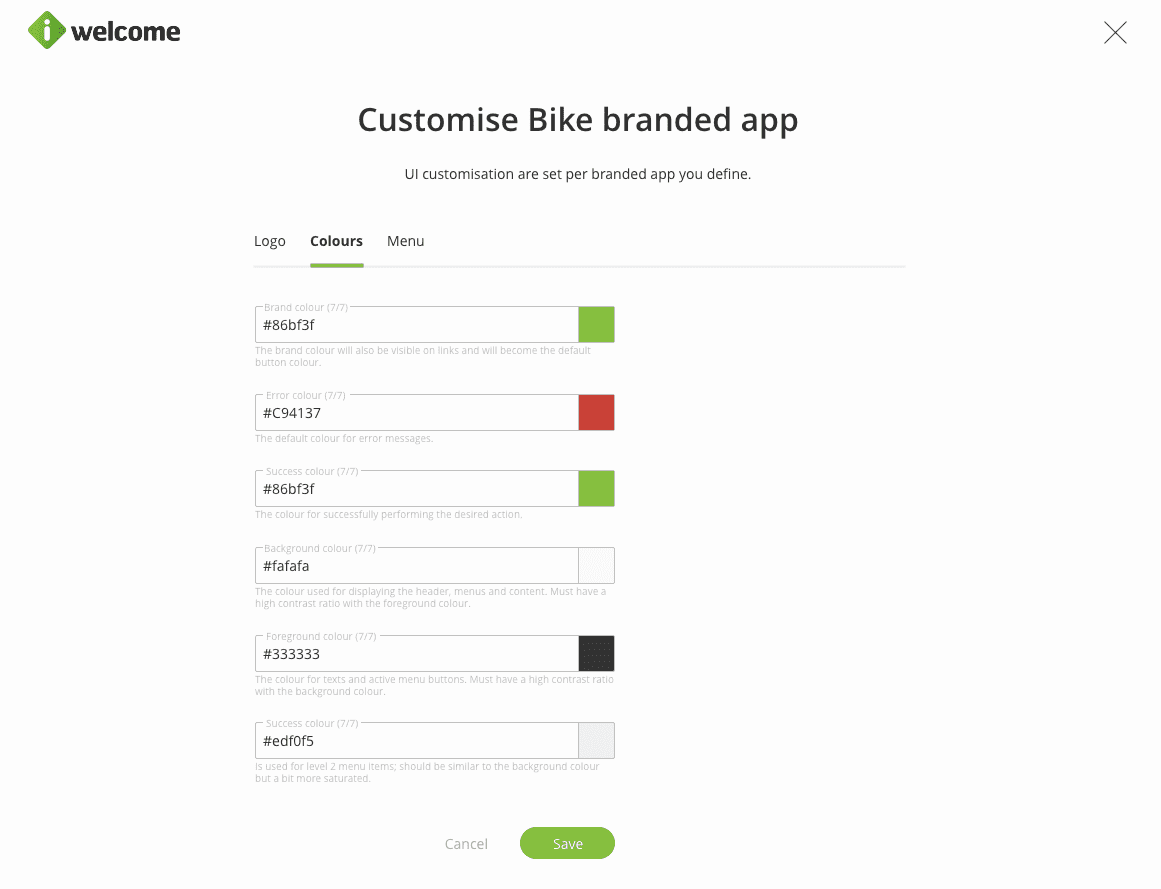
To complete the branding and customisation of the branded app, within the Colours tab, you have the option of changing the colour of the following:
Brand colour The brand colour will also be visible on links and will become the default button colour.
Error colour The default colour for error messages.
Success colour The colour for successfully performing the desired action.
Background colour The colour used for displaying the header, menus and content. Must have a high contrast ratio with the foreground colour.
Foreground colour The colour for texts and active menu buttons. Must have a high contrast ratio with the background colour.
Alternate colour Is used for level 2 menu items; should be similar to the background colour but a bit more saturated.
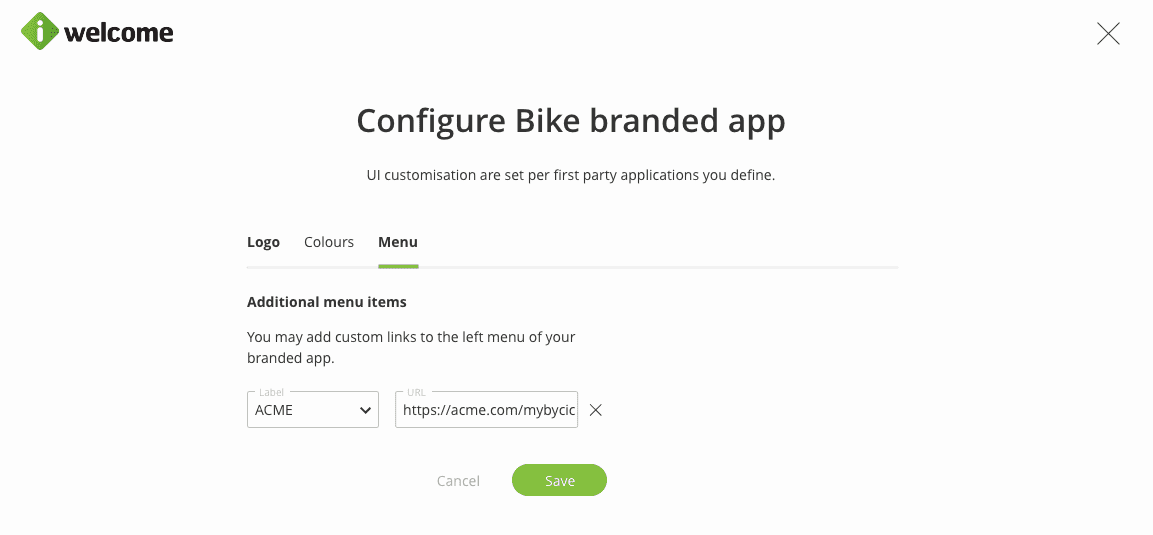
Last but not least, the left menu of the Profile page is also configurable within the Menu tab. You may choose to add additional links for increased user convenience.
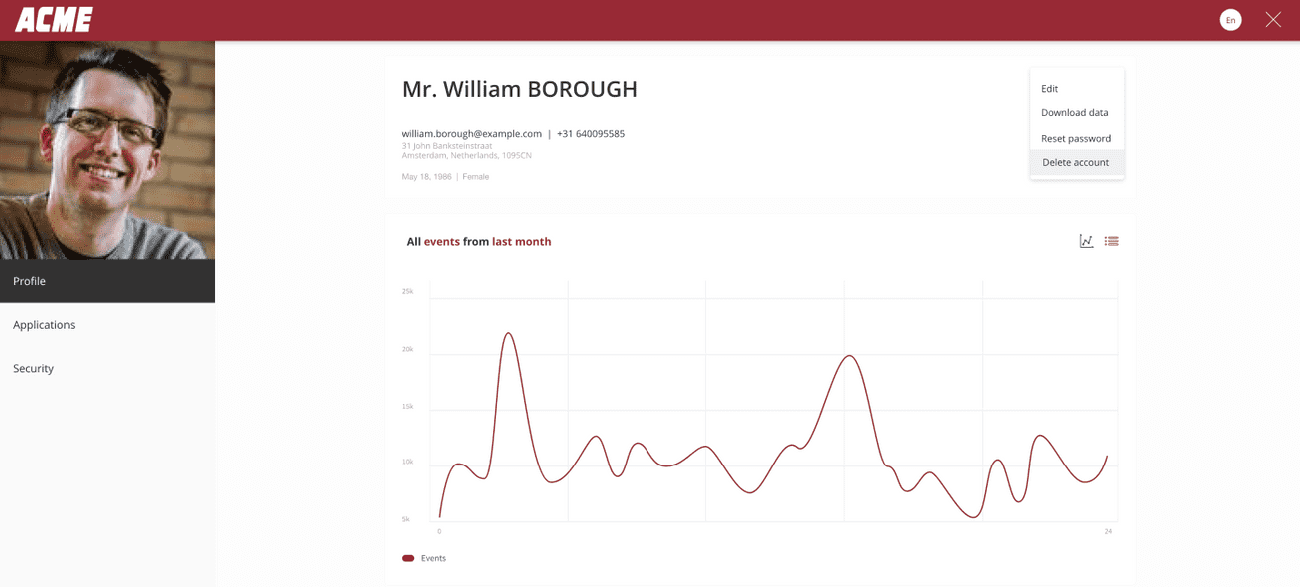
Here's an example of a custom-branded self service page:
Accessing branded apps
A user is only able to access the Branded apps configuration menu item within the platform if that user has at least one Admin role that grants him that permission. Users that have this permission are allowed to configure new branded apps and manage all the existing ones.